
The complete peptide research handling guide.
A premium laboratory reference covering product inspection, lyophilized appearance, concentration principles, reconstitution, storage, vial systems, packaging, batch documentation and quality verification.
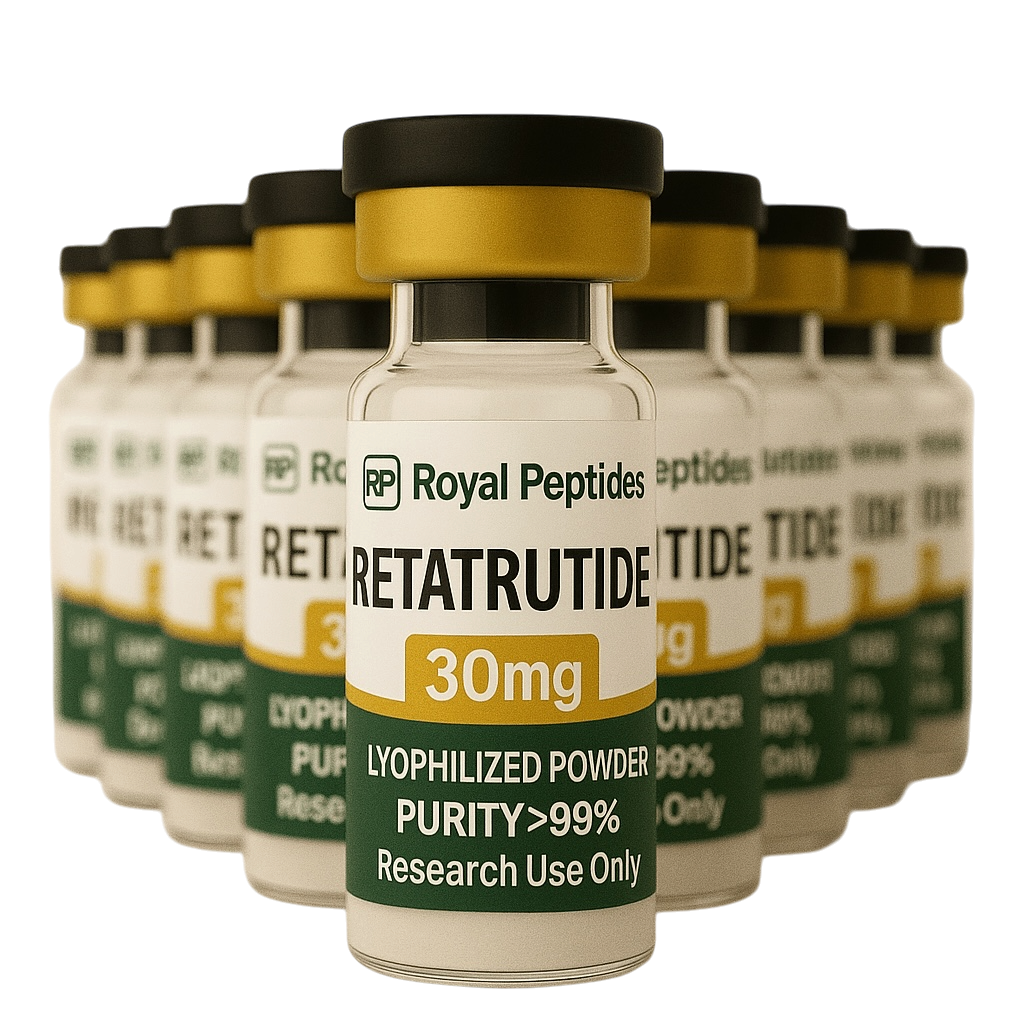
Vial Capacity
Many standard peptide vials accommodate up to approximately 3 mL of laboratory diluent.
Concentration
The liquid volume selected changes the final solution concentration.
Storage State
Storage requirements can differ before and after reconstitution.
Batch Records
Record product name, batch number, dates and storage conditions.
Available product documentation may include third-party analytical purity results.
Match the product batch identifier with the corresponding available certificate.
Products are supplied exclusively for qualified laboratory and analytical research.
A complete reference covering receiving, handling, storage and quality documentation.
Before You Begin
Peptide products are commonly supplied as lyophilized powder. Lyophilization removes moisture under controlled conditions and supports stability during storage and transportation.
Before beginning any laboratory procedure, review the product information, inspect the vial and packaging, prepare the required supplies and establish a documented protocol.
Review the vial, cap, stopper, visible material, label and external packaging.
Record the product name, batch identifier, receiving date and storage destination.
Transfer the product to the storage environment required by the established protocol.
Product-specific information takes priority
Formulation, vial dimensions, packaging and storage requirements may differ. Review any product-specific information supplied with the product.
Receiving and Inspection Checklist
A consistent receiving process helps establish product traceability from delivery through laboratory storage.
Review external packaging
Inspect the shipping container for significant crushing, liquid exposure or other visible damage.
Confirm the order contents
Compare the received product names and quantities with the shipment documentation.
Inspect each vial
Review the glass, cap, stopper, seal and visible material before moving the product into storage.
Record product information
Document the product name, batch identifier, receiving date and storage location.
Do not discard packaging immediately
Keep the shipping container and product packaging until the received contents have been fully inspected and documented.
Reconstitution Fundamentals
Reconstitution is the process of adding an appropriate laboratory diluent to a lyophilized product. The amount of liquid added determines the resulting concentration.
Concentration principle
More liquid produces a more diluted concentration. Less liquid produces a more concentrated solution. The total quantity originally contained in the vial does not change.
- Confirm the product amount and selected liquid volume before beginning.
- Many common research vials can hold up to approximately 3 mL.
- Document the selected volume and calculated concentration.
- Use an appropriate laboratory diluent compatible with the established protocol.
- Avoid forcefully directing liquid onto the lyophilized material.
General Laboratory Process
Prepare the workspace
Organize the vial, selected diluent, calculation records and required laboratory supplies.
Inspect and clean the stopper area
Confirm that the vial and stopper are intact before following the laboratory cleaning procedure.
Measure the selected liquid volume
Prepare the amount of diluent established by the documented calculation.
Add liquid gradually
Direct the liquid slowly along the inside wall of the vial rather than forcefully onto the product.
Allow controlled dissolution
Permit the material to dissolve naturally or use gentle vial movement when required. Avoid vigorous shaking.
Document and store
Record the concentration and preparation date, then transfer the vial to the selected storage environment.
Use the calculator before adding liquid
The Royal Peptides Calculator can help review the mathematical relationship between product amount, liquid volume and concentration.
Storage and Transit Guidelines
Lyophilized products are generally more stable during ordinary transit than products already in solution. Storage conditions still remain an important part of maintaining product integrity.
Lyophilized Product
Before reconstitutionUnopened lyophilized products are commonly stored in a suitable freezer for longer-term storage and protected from excessive light, heat and moisture.
Reconstituted Product
After liquid is addedReconstituted products are generally moved to a suitable refrigerator unless product-specific information or the established research protocol states otherwise.
General Storage Practices
- Protect products from unnecessary light exposure.
- Avoid prolonged exposure to excessive heat.
- Keep unopened vials dry and protected from moisture.
- Reduce repeated temperature cycling whenever possible.
- Record the receiving date and storage location.
- Use product-specific information when it differs from general guidance.
Ordinary shipping conditions
Room-temperature transit does not automatically mean a lyophilized product has been compromised. Move the product into the selected storage environment after delivery.
Different products may require different handling
Storage needs can vary by compound, formulation and product format. Individual product information should take priority.
Understanding Lyophilized Appearance
Lyophilized material does not always have one uniform appearance. The visible shape, color and density may vary by compound, formulation, vial size, production process and movement during transportation.
Solid Puck
A compact layer fused toward the bottom of the vial.
Raised Cake
A thicker formation extending higher within the base.
Thin Layer
A shallow coating distributed across the vial bottom.
Fragmented Cake
Material that has shifted or separated during transit.
- Visible powder volume can differ between compounds.
- A cake may appear smooth, textured, raised or compressed.
- Movement during shipping may change the cake shape.
- Some compounds or blends may have a distinctive color.
- Minor appearance differences may occur between batches.
- Appearance alone does not establish identity, purity or concentration.
Visual inspection is only one part of review
Evaluate the vial condition, product identification, batch information and available documentation rather than relying on appearance alone.
Vial Caps, Crimps and Stopper Access
Vials may use different cap systems depending on the manufacturer, product line or batch. The colored top may be paired with a metal crimp and rubber stopper beneath it.
Find the Arrow
The printed arrow identifies the lifting direction for the hinged green top.
Lift Only the Top
Follow the arrow and raise the colored hinged portion only.
Crimp Stays Attached
The stopper is accessible while the silver metal crimp remains secured to the vial.
Do Not Remove Completely
Never pull off the entire cap assembly or detach the metal crimp from an arrow-marked hinged vial.
Arrow marking means lift—not remove
When an arrow is printed on the colored cap, follow it to open the hinged top. The colored top remains connected at its hinge, and the silver metal crimp must remain attached around the vial neck.
The visible cap color may support identification or brand presentation.
The crimp secures the stopper and remains attached around the vial neck.
The stopper seals the vial and provides the access surface beneath the cap.
Hinged or Reusable Cap Designs
- Inspect the cap for an arrow, hinge or lift tab.
- Lift only the upper section when the design is hinged.
- Do not force the metal crimp away from the vial.
- Confirm the cap style before attempting full removal.
- Cap color may differ without changing the product itself.
Do not force a hinged cap
Applying excessive force can damage the cap assembly or seal. Confirm whether the top is designed to lift, snap or peel before proceeding.
10-Vial Kit Packaging
Kit presentation may differ from single vials
Some multi-vial kits may use grouped packaging, simplified labels or external identification rather than ten complete retail-style vial labels.
A 10-vial kit is a grouped product configuration. The external box, bag, tray, batch sticker or kit label may provide the primary identification for the complete set.
The product name and batch information may appear on the outer packaging.
Vials may be arranged in trays, bags, boxes or protective grouped packaging.
Packaging design can change between batches without changing the listed product specification.
- Confirm that the listing is for a single vial or kit.
- Review the expected vial quantity before ordering.
- Keep the external kit label with the grouped vials.
- Record the kit-level batch information.
- Do not identify an unlabeled vial from appearance alone.
Quality and Verification Process
A structured quality process supports traceability, consistency and transparency across research products and batches.
Source Review
Production sources and product specifications are reviewed against established quality requirements.
Batch Testing
Available batches may undergo analytical evaluation for identity, purity, mass or other relevant markers.
Product Inspection
Vial presentation, packaging, labels and batch information are reviewed before fulfillment.
COA Documentation
Available test documents are organized for batch-specific reference and verification.
Common Analytical References
The reported percentage of the target compound relative to detected material.
Evidence that the analyzed material corresponds with the expected compound.
An analytical estimate of the material quantity present in the tested sample.
Testing is batch specific
A result from one batch should not automatically be treated as the analytical result for another batch. Match the identifier carefully.
How to Review a Certificate of Analysis
A Certificate of Analysis, commonly called a COA, presents analytical information associated with a tested sample or product batch.
Confirm the document identifies the same compound or blend.
Match the vial or packaging batch number with the report.
Review when the sample was received, analyzed or reported.
Review the reported purity result and analytical method.
Where available, review measured or estimated sample mass.
Confirm the laboratory name and report identifiers.
Use the Royal Peptides COA library
Visit the Royal Peptides COA page and match the product batch identifier with the available documentation.
Not every report contains the same test panel
Available testing may differ by product, batch and laboratory. Review exactly which analytical results are included.
Complete Handling Reference
Use this table as a concise reference when receiving, inspecting, documenting, reconstituting and storing laboratory research products.
| Stage | Review | Reference Action |
|---|---|---|
| Receiving | Shipment condition, contents and quantities | Compare the shipment with the order record and retain packaging until inspection is complete. |
| Inspection | Vial glass, stopper, cap, seal and visible material | Document significant damage, leakage or identification concerns. |
| Identification | Product name, batch number and packaging | Maintain the connection between the product and its batch documentation. |
| Preparation | Supplies, calculation, selected diluent and written protocol | Confirm the intended concentration before adding liquid. |
| Reconstitution | Liquid volume, technique and dissolution | Add liquid gradually along the vial wall and avoid vigorous shaking. |
| Storage | Product state, temperature, light and moisture | Store according to the product-specific or established laboratory process. |
| Documentation | Dates, concentration, storage location and observations | Maintain records consistent with institutional or laboratory standards. |
General Best Practices
- Read the complete product listing before ordering.
- Confirm whether the product is a single vial or kit.
- Inspect the cap design before attempting to open it.
- Do not identify a product from cap color alone.
- Do not assume all lyophilized products have the same powder appearance.
- Confirm concentration calculations before reconstitution.
- Label and document prepared products according to the research process.
- Do not proceed with damaged, contaminated or improperly identified laboratory materials.
Research Terminology Glossary
These terms appear throughout product listings, laboratory reports and research reference materials.
Freeze-dried material produced by removing moisture under controlled conditions.
The process of adding an appropriate liquid to a lyophilized product.
A liquid selected for preparing or diluting a laboratory product.
The amount of product present within a defined volume of solution.
An identifier connecting a product with its production and testing records.
A Certificate of Analysis presenting available analytical results for a tested sample.
The reported proportion of the target compound relative to detected material.
The measured or estimated quantity of material present in an analyzed sample.
Research Use Only. A designation indicating the product is intended for laboratory research.
Frequently Asked Questions
How much liquid should be added to a vial?
The selected liquid volume depends on the desired concentration and documented research protocol. Use the calculator to review the mathematical relationship before preparation.
Does adding more liquid increase the amount of peptide?
No. Adding more liquid changes concentration and total solution volume. It does not change the quantity originally present in the vial.
Why do different products have different powder volumes?
Visible volume can vary based on compound, formulation, excipients, vial dimensions, production process and material density.
Does a broken cake mean the product is damaged?
Not automatically. Lyophilized material can shift or fracture during transit. Review the full vial condition, identification and documentation.
Why is some lyophilized material colored?
Certain compounds or blends may have a distinct visible color. Review the individual product description rather than comparing every product with white material.
Why was the shipment not sent with a cold pack?
Standard lyophilized products generally do not require cold-pack shipping during ordinary transit. Storage after delivery remains important.
Should the entire vial cap be removed?
Not necessarily. Some vials use a hinged or flip-top design where only the upper portion is lifted while the metal crimp remains attached.
Are all vials in a kit labeled separately?
Not always. Some kits use grouped or external identification rather than complete retail-style labels on every vial.
How should a COA be matched to a product?
Match the product name and batch identifier shown on the vial or packaging with the corresponding document in the COA library.
What should be done if a solution appears abnormal?
Stop and review product identification, diluent source, preparation process and laboratory acceptance criteria. Do not proceed with material that does not meet established standards.
Can Royal Peptides provide personal-use instructions?
No. Royal Peptides products and educational resources are provided for laboratory research purposes and do not include individualized medical, therapeutic or administration advice.
No matching section found
Try a broader search term such as “storage,” “caps,” “COA,” “kits” or “reconstitution.”
Continue with the calculator, product catalog or COA library.
Use the peptide calculator to review concentration calculations, browse the research collection or locate available batch-specific documentation.